
We meticulously banded the shirts to make a funky design.
We dipped one side in red dye (mixed with hot water and salt, as instructed in the directions on the package).

And then we turned them around and dipped the other end of the shirt in the blue dye. We learned that plastic gloves should probably have been part of our must-have items for tie-dyeing. At one point, it looked very much like Becky had committed a very greusome murder and had the bloody hands to prove it. It was awesome.

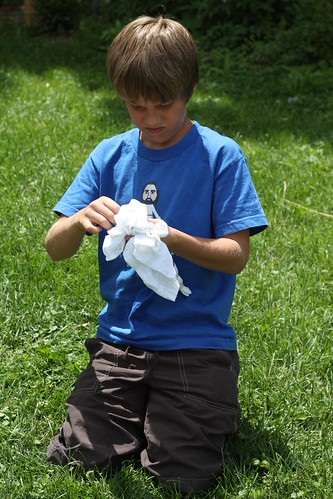
When the colors were just as we (thought) we'd like them, the kids then painstakingly removed the rubber bands. After the first such band was removed, scissors were procured. Things went much faster after that. The shirts were laid out flat on the lawn and hosed off to get the excess dye out. I knew up front that wearing an apron would protect my clothing from getting ruined.

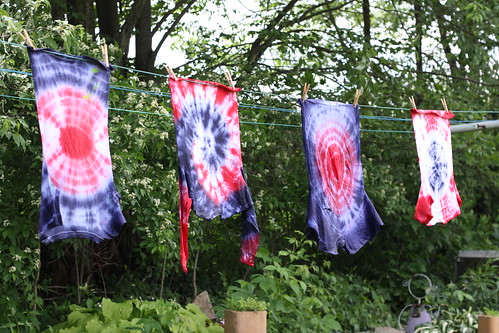
And then I hung the shirts on the line to drip dry so that we wouldn't have to wring them and mix colors while they were wet. They looked soooo fun, and the kids were super excited about how they turned out.
And because I didn't want the colors to run together, I asked Dr. Google how to make them colorfast. Soaking in white vinegar for 24 hours would do just that, so we did, just that, taking care to put each shirt in it's own bucket so as to avoid excessive color bleeding while they're becoming color fast.

And then I rinsed the shirts in cold water until the colors ran clear, and popped them in the washer to get the vinegar out. Once they came out, they looked like this.

Stellar, no? Yucky rust and faded blue colors, that bled into a purple hue on the white part. While still kinda cute and very original, it's certainly not the awesomeness that we wanted to create.
Help? Anyone out there know how to do tie-dye where the colors actually stay exactly how you want them?
7 comments:
Hi i am Mark and i like your family.Your whole family is cute ...Tank Top
Can I be honest? I love the ooopps colors more than the original!!
Awe. They were so pretty. What a disappointment. I'll be interested to see if you get any good recommendations.
The meant-to-be colours were gorgeous - but the oops colours have a vintage quality I quite like!
A happy accident?
Awwww, crap! I don't even begin to remember how to do it! I mean we did it when the girls were little, but I SO don't remember WHAT we did!
The kids just made some here at Disney, we won't know what they look like until we get home though, since we don't want to use the washer here, so we'll let you know. If it works like it should, they'll each have some tie-dyed Mickey shirts. Well the Mickey head will be in the middle, with vibrant colors all around it. :) I think there are instructions included, I could let you know once we get back to normal life if you'd like. Just remind me. I do know that they used some sort of dye - not homemade - and had to wear gloves while using it, so as to not stain their hands. They were then wrapped in saran wrap and we were told to wait at least 24 hours before washing them, the longer we wait the more vibrant the color. I'll let you know, may even blog about it. ;)
Those are cool-both ways.
I have tye dyed a few times. I have had it work fine and others it all ran together and looked like a big rusty t shirts with colors mixed in. I have no idea what I do different with them!
Good luck. If you try it out again and it works make sure to blog it!
Post a Comment